
1.4. Using Google Colab#
Google Colab is a web-based coding environment in which you can run Jupyter Notebooks
You can use Google Colab to complete the course if you don’t want to install Anaconda on your laptop, or if you can’t do so (this would be the case if you have a Chromebook for example). You can also run Colab on tablets and even phone if you want to.
In this section you will see how to:
Access ready-made example Jupyter Notebooks via Colab
Save our work to your Google Drive
Create your own Jupyter Notebbooks
Upload and read data files including those downloaded from Canvas
Read through and complete the Exercises to make sure you are confident using the Colab interface.
1.4.1. Exercise 1: Open an existing Notebook#
First we will explore the Jupyter Notebook format using a ready made notebook “launched” directly from the course notes website.
These course notes are made up of some pages that are just text (“Markdown”) and some that are actual Jupyter Notebooks.
Any file that is an actual Jupyter Notebook can be opened automatically in Colab by clicking the little rocket button selecting Colab:

The notebook now opens in Colab in another tab of your browser

1.4.2. Markdown cells#
Cells with text and images are called Markdown cells. Markdown refers to the codes we use to format the txet in these cells, for example headings are indicated by hashtags (one hash is the biggest heading, more hashes = smaller subheadings)
If you double-click a markdown cell, you can edit the text, and can also see these markdown symbols.
For your purposes, probably the only ones you need to know are:
Bullet points are indicated by * at the start of the line
Titles are indicated by hashtags
Bold font is indicated by double-star **text** –> text
Italic font is indicated by single-star *text* –> text
You can find examples of all of these in my example notebooks
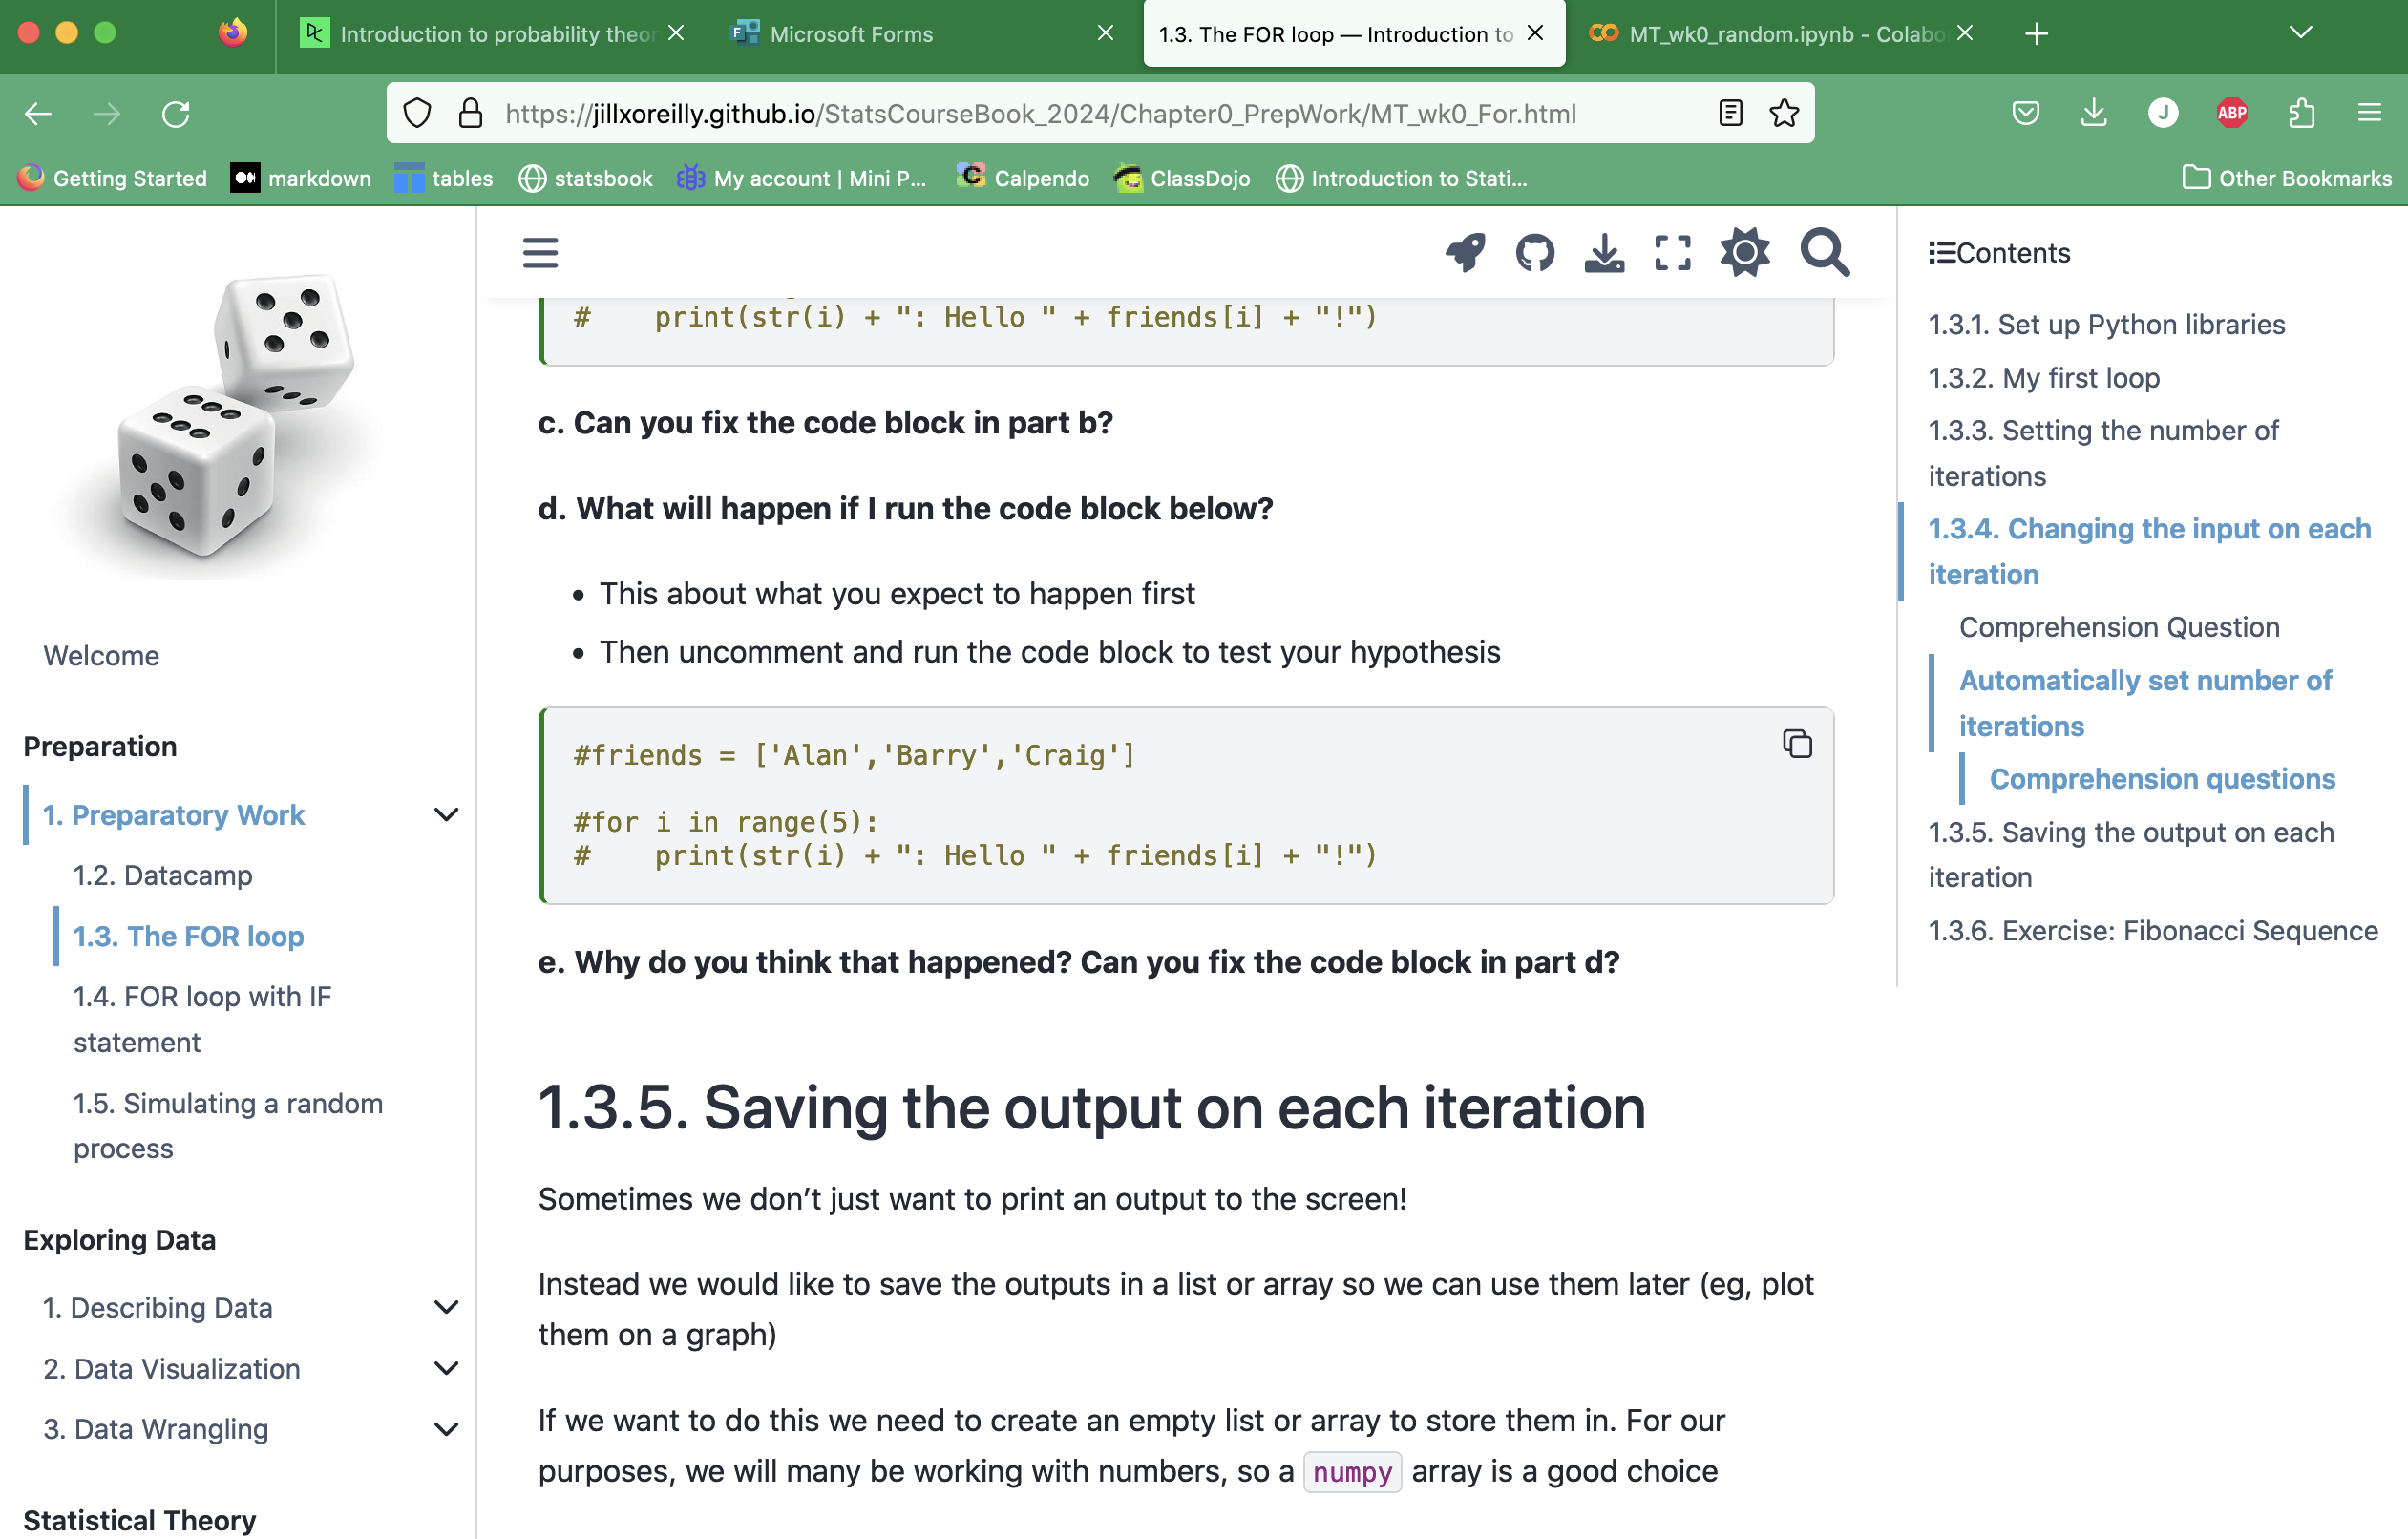
1.4.3. Code cells#
These contain Python code
Note that any code preceded by a hashtag # is a comment - explanatory text that is visible to human readers but is ignored by the computer
Sometimes I comment out code in notebooks that I don’t want to automatically run - you can then uncomment it (by removing the hashtags at the start of the lines) when you are ready to run it.
The code block below is “commented out” - students are invited to think ahead about what the output of the code will be, before deleting the hashtags and running the code to check their answer.
1.4.4. Adding a new cell#
If you click on ‘Add Code’ or ‘Add Text’ you will get a new code or markdown cell below the currently highlighted cell:
1.4.5. Saving your work#
You must save your work.
Colab times out after a few minutes of inactivity and your changes will be lost unless you actively save them to your Google Drive
They will go to a folder called Colab Notebooks
You can get to your drive by clicking File–>Locate in Drive
Your files will be saved in your Google Drive (you would need to create one if you don’t have one).
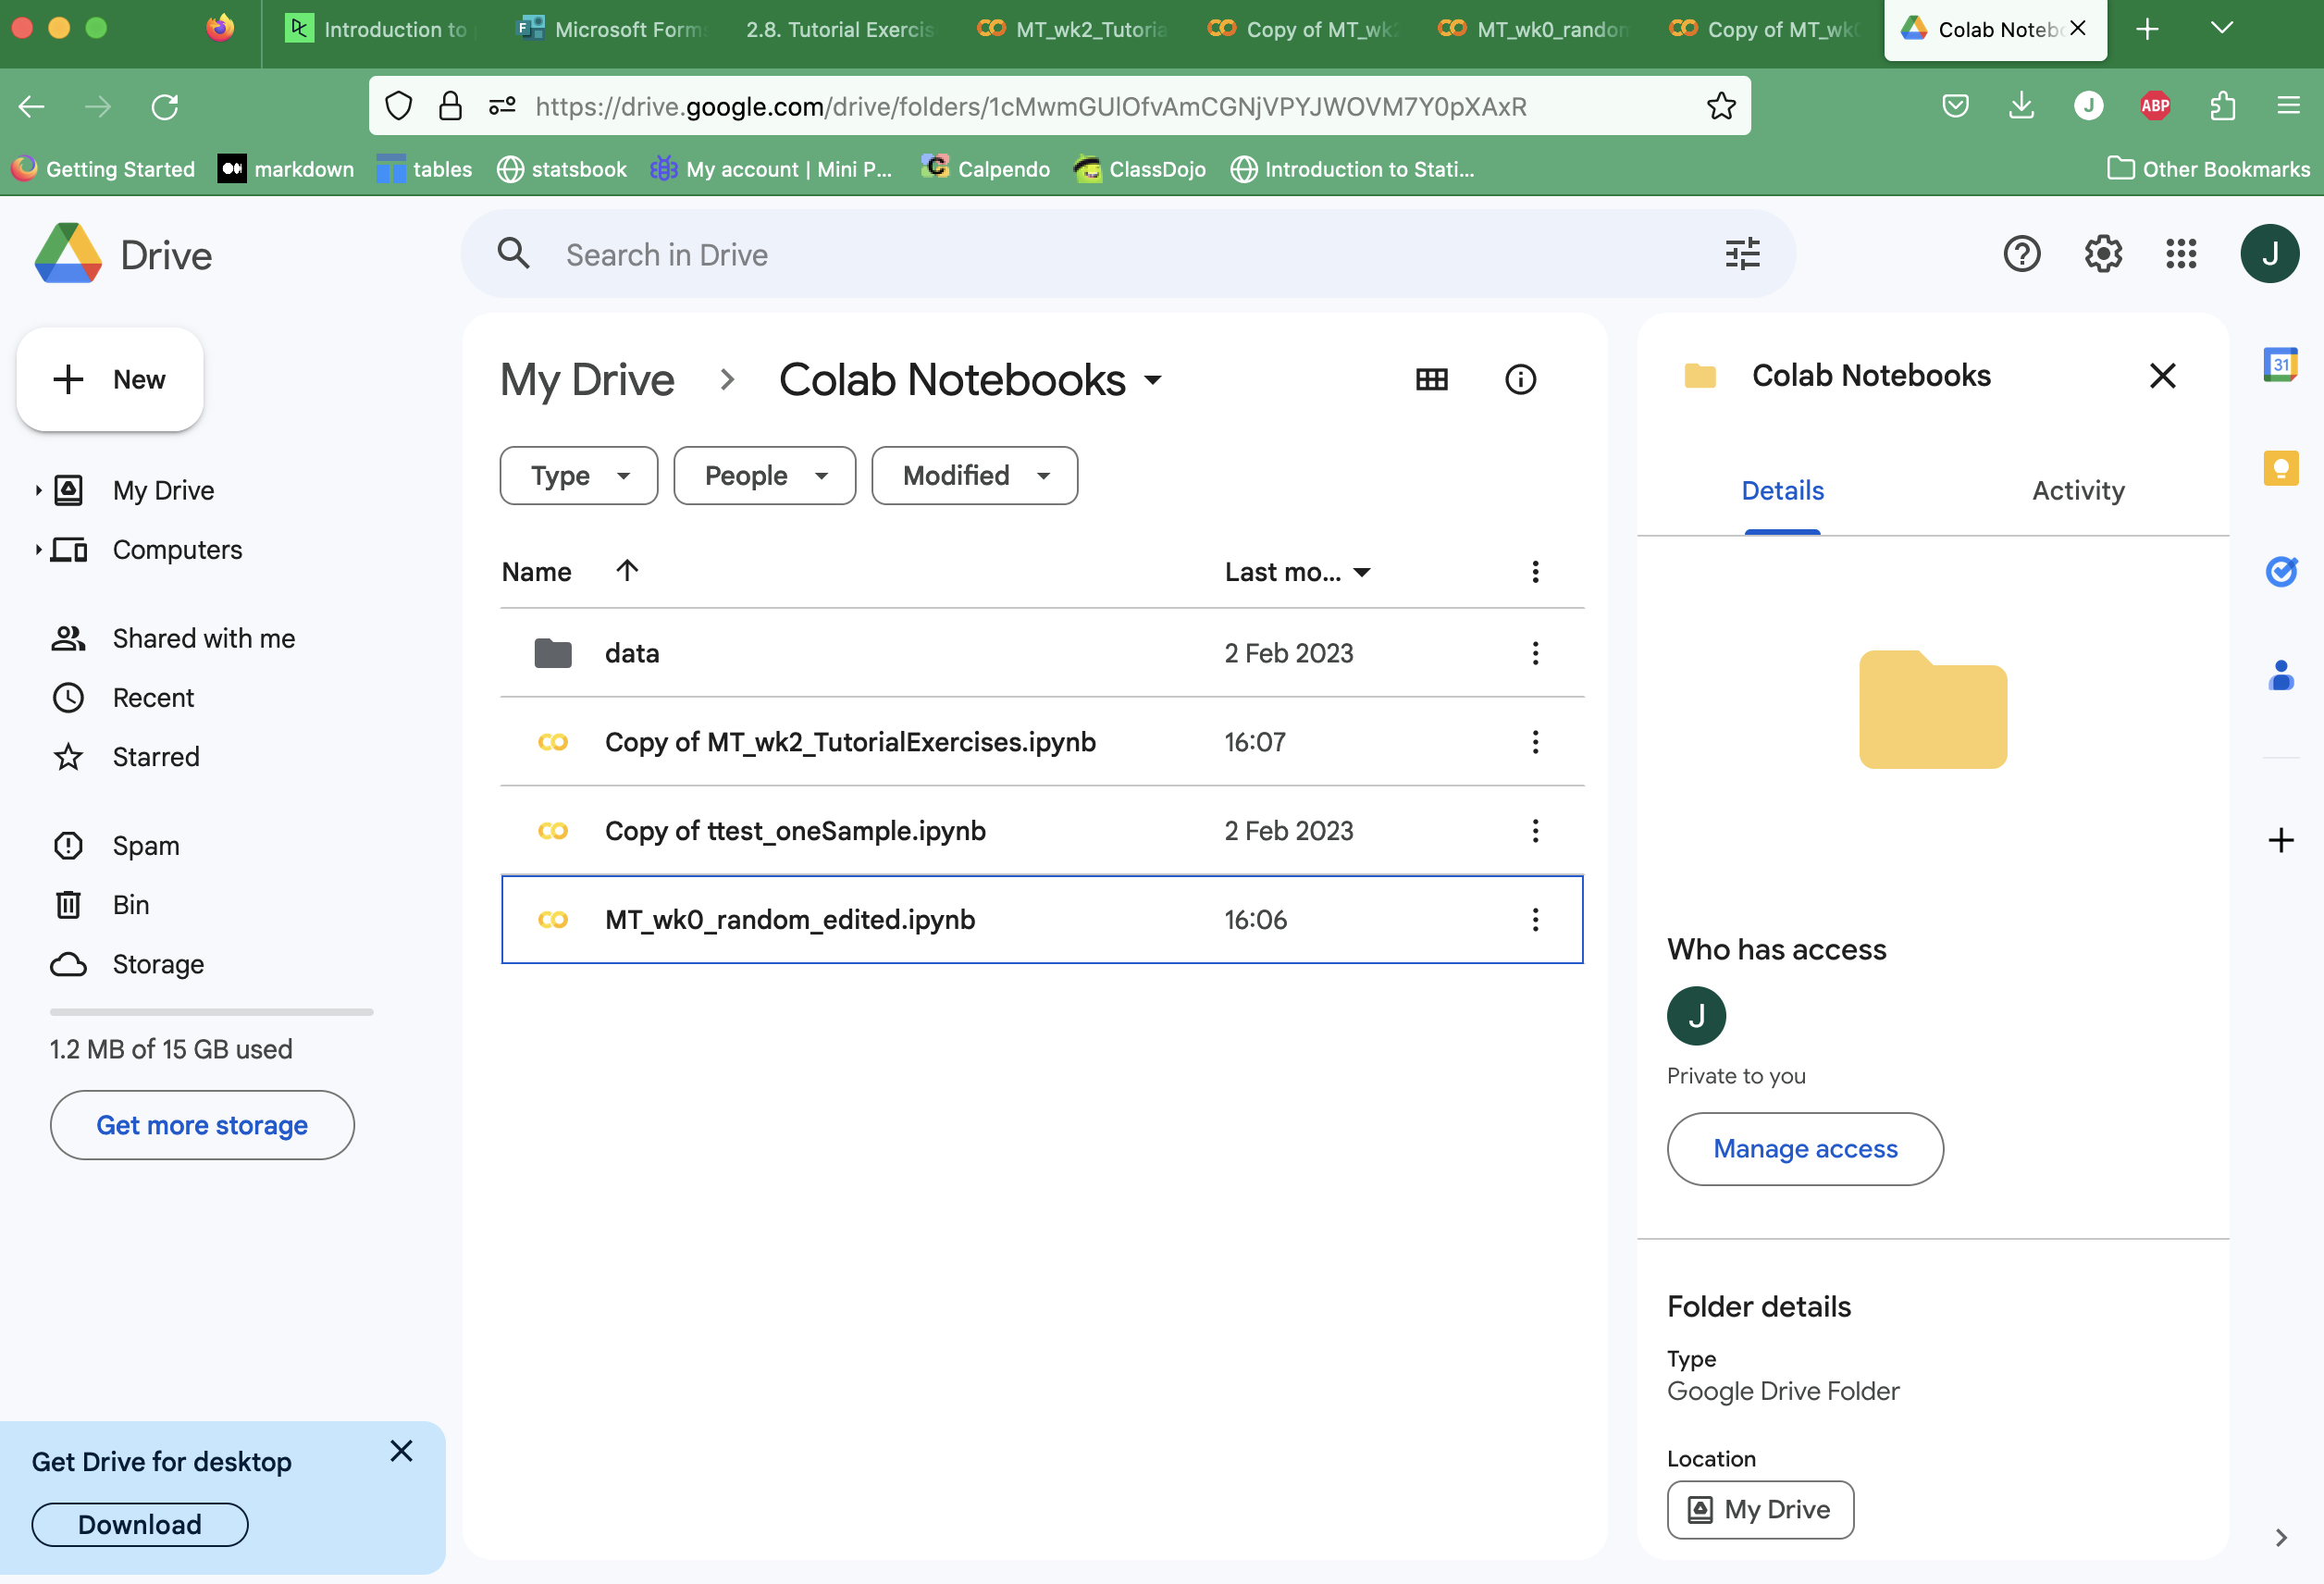
The file will be saved as “Copy of …. for example if you download a file called ExampleNotebook.ipynb, it will be saved in your drive as “Copy of ExampleNotebook.ipynbb. You will therefore probably want to rename this file (click on the three dots by the file
1.4.6. Exercise 2: Creating a New Notebook#
Now let’s try to create a totally new notebook. You will see there are a couple of things we have to do to ‘set up’ the notebook.
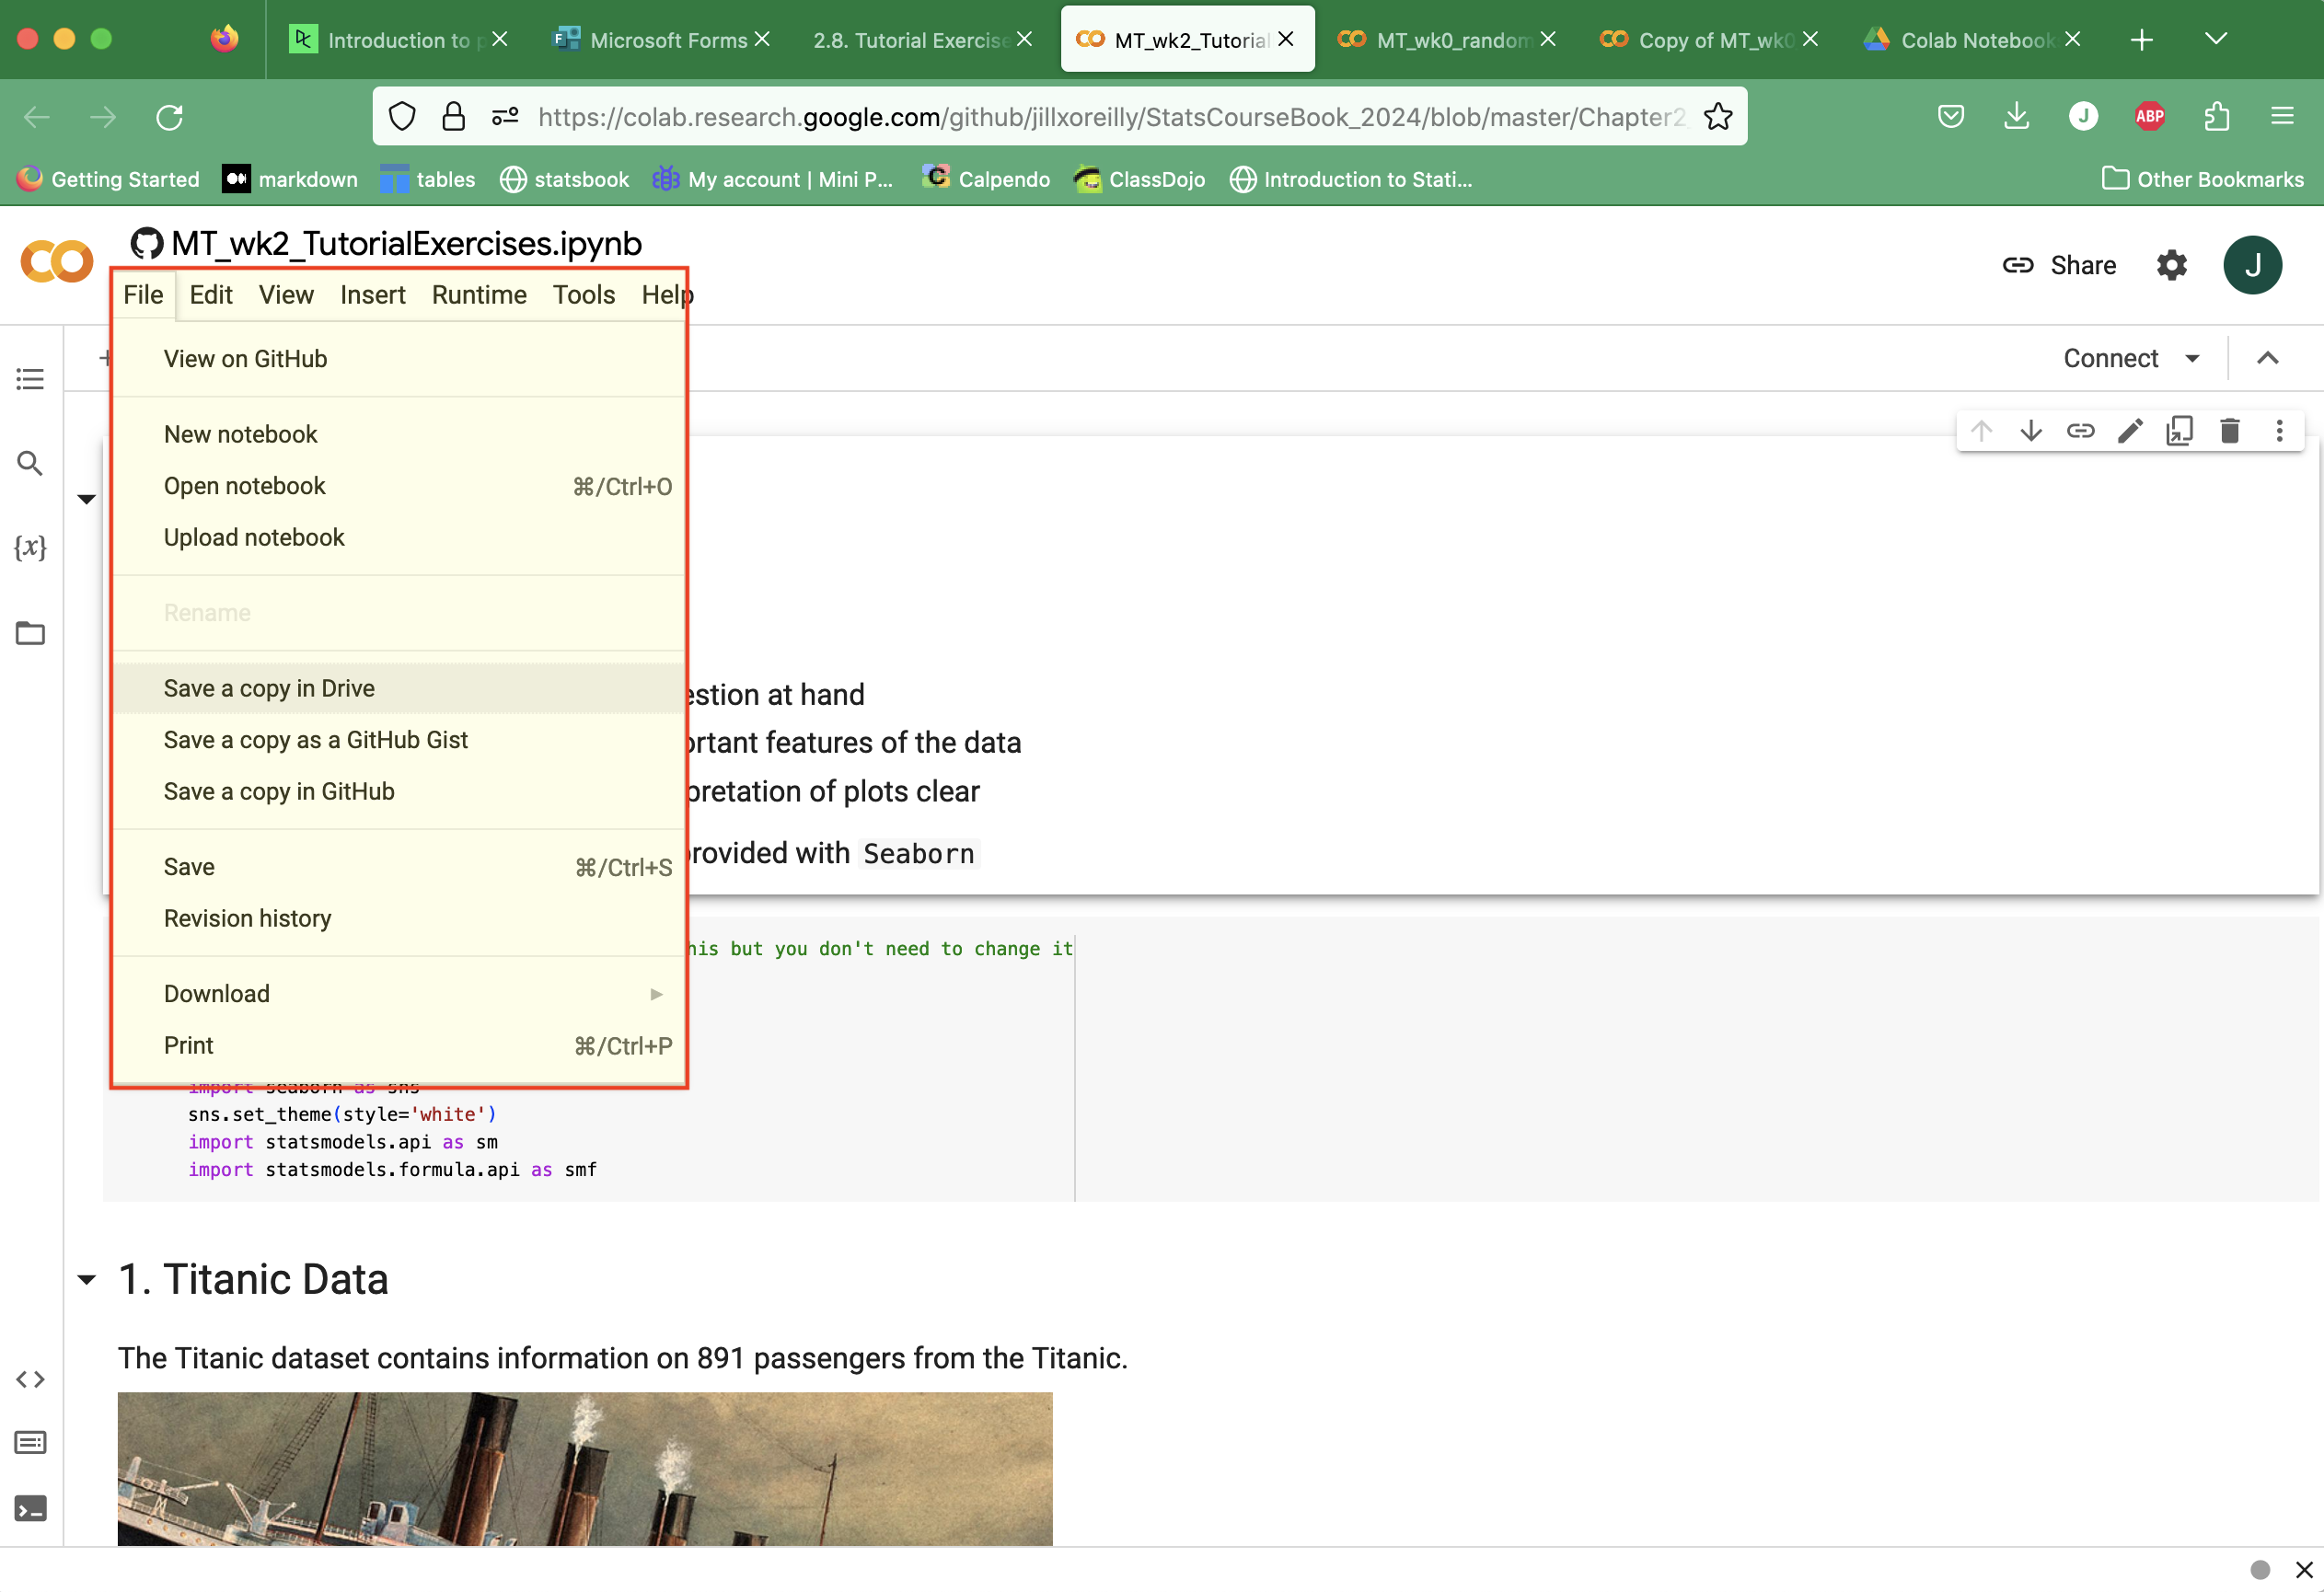
Create a new Notebook file#
You can create a new Jupyter Notebook by clicking File –> Notebook:
Remember to save this new notebook straight away, because if Colab times out, it will be lost!
It will go in the “colab notebooks” folder on your Google Drive
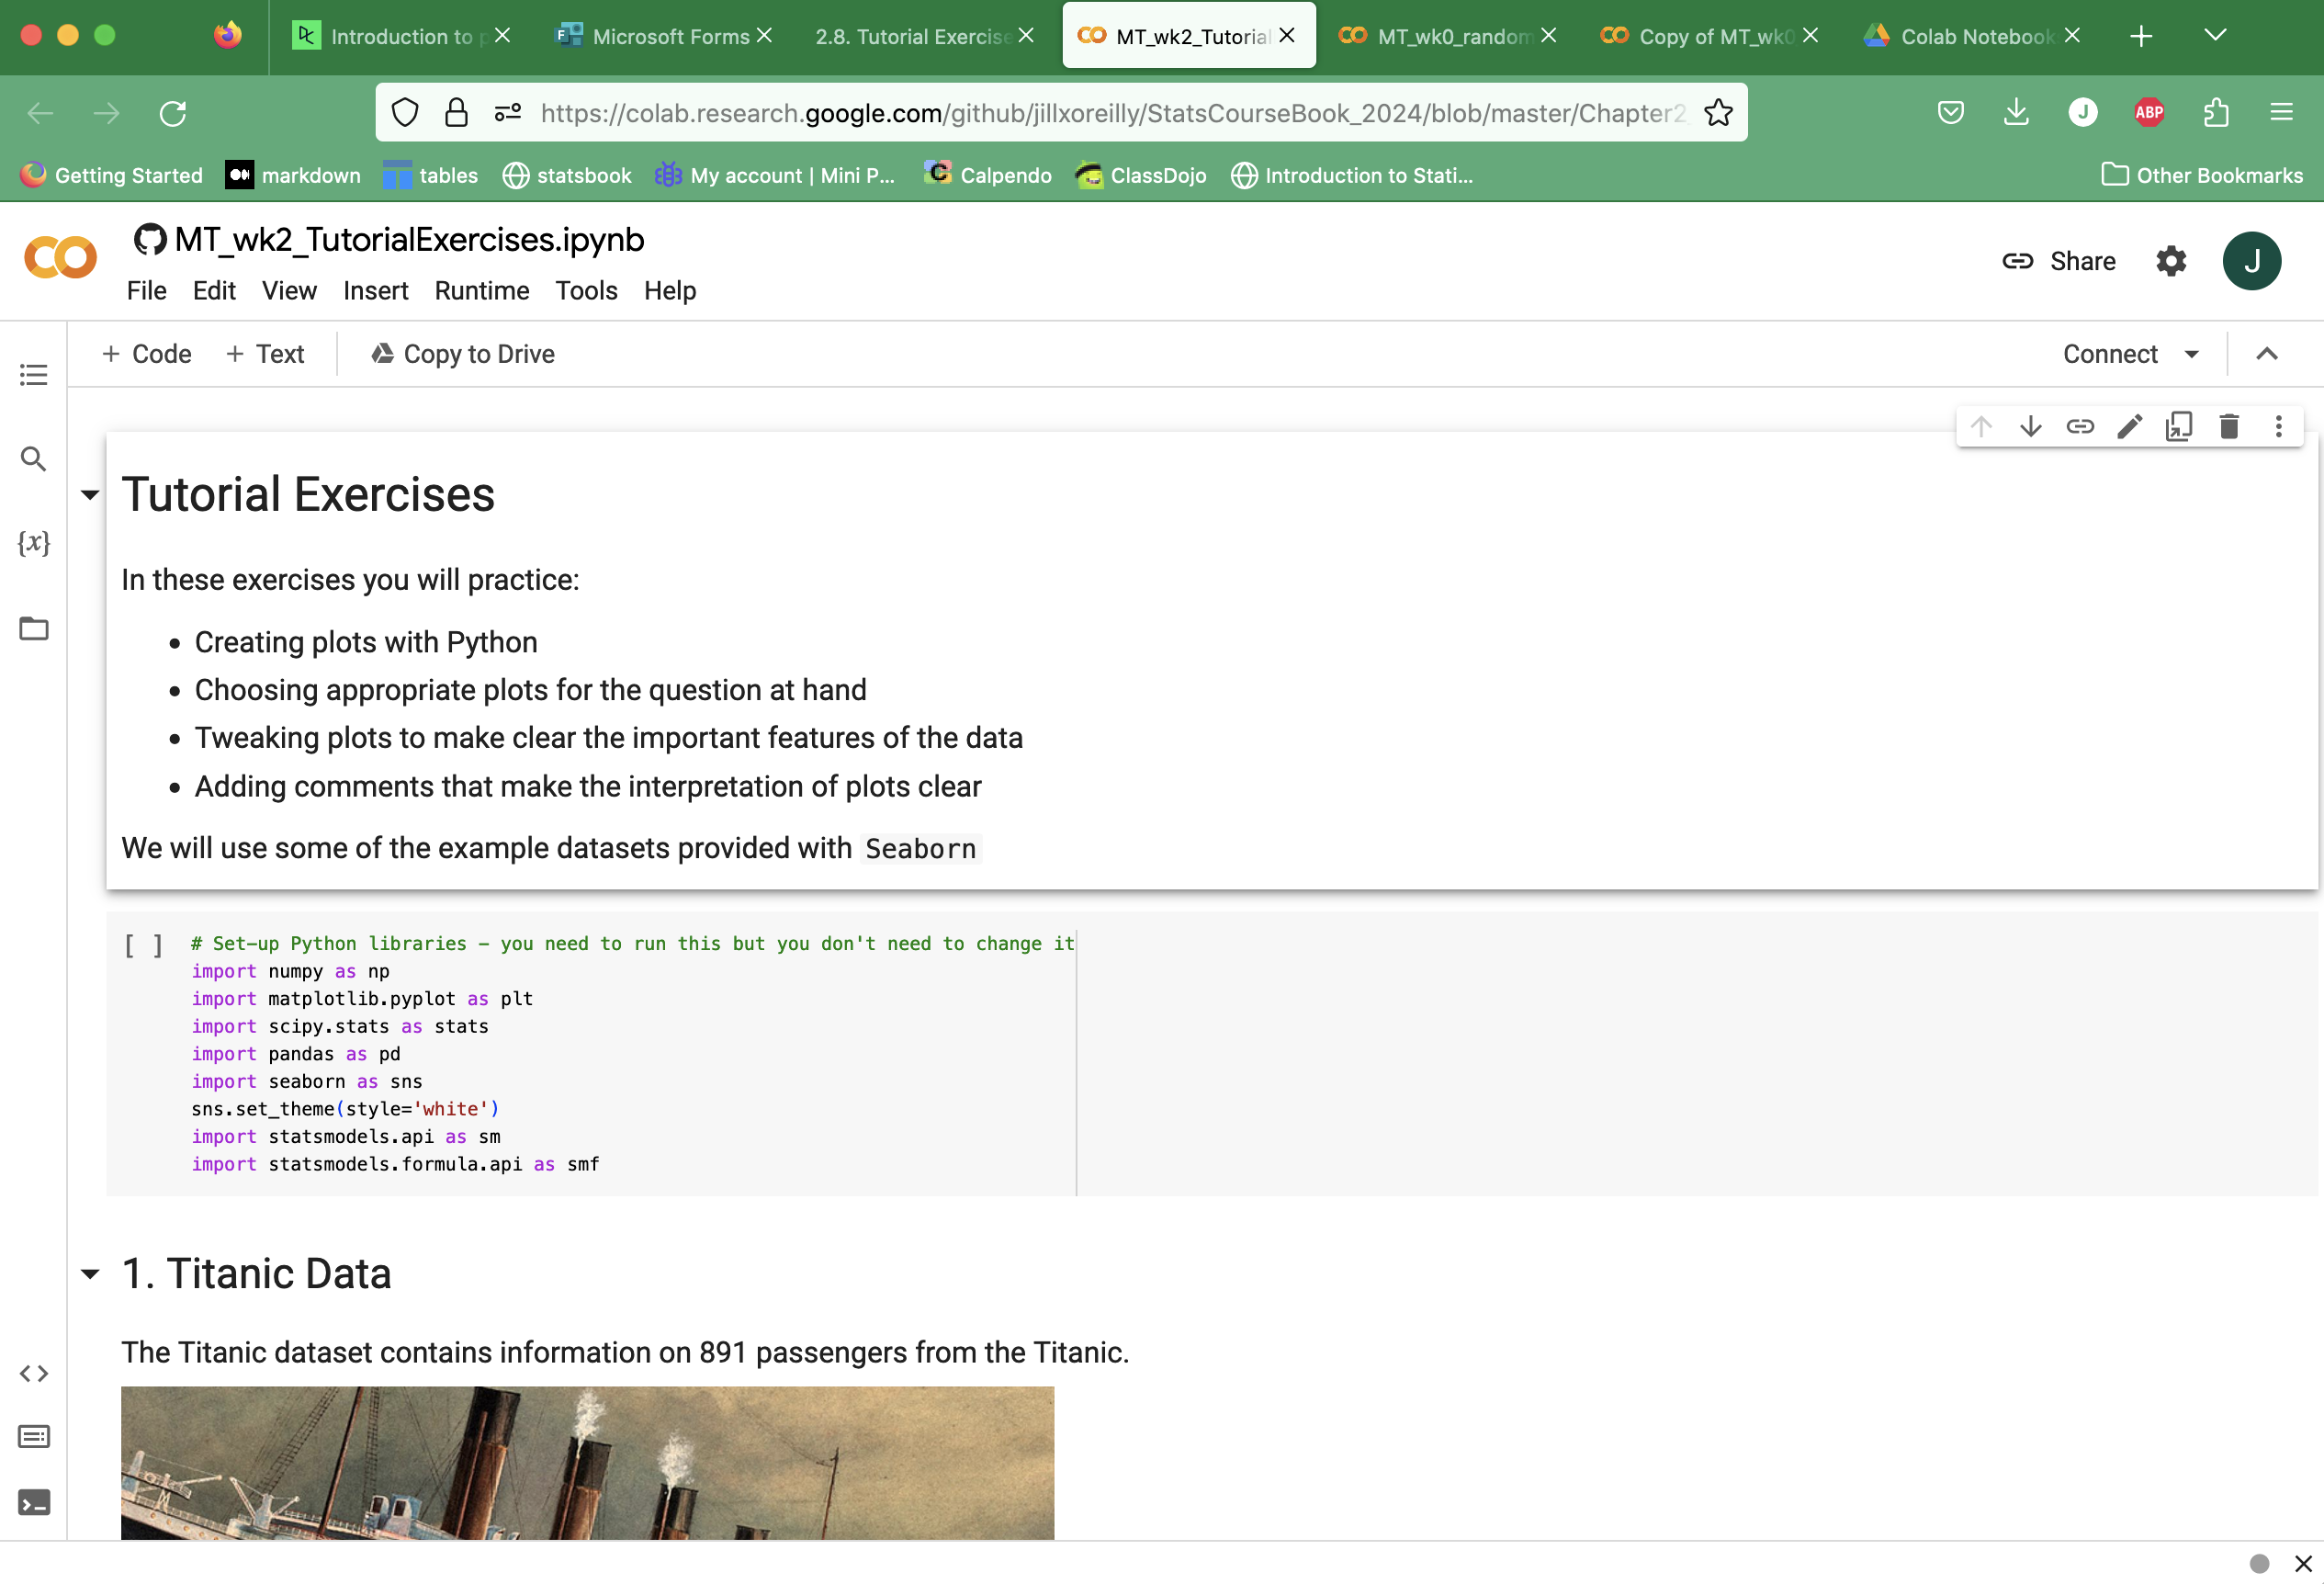
Import Python libraries#
At the top of each Notebook you will need to import the Python libraries that are used in the Notebook
You will see the same block of code repeated in all my example notebooks; this imports the libraries we use in this course
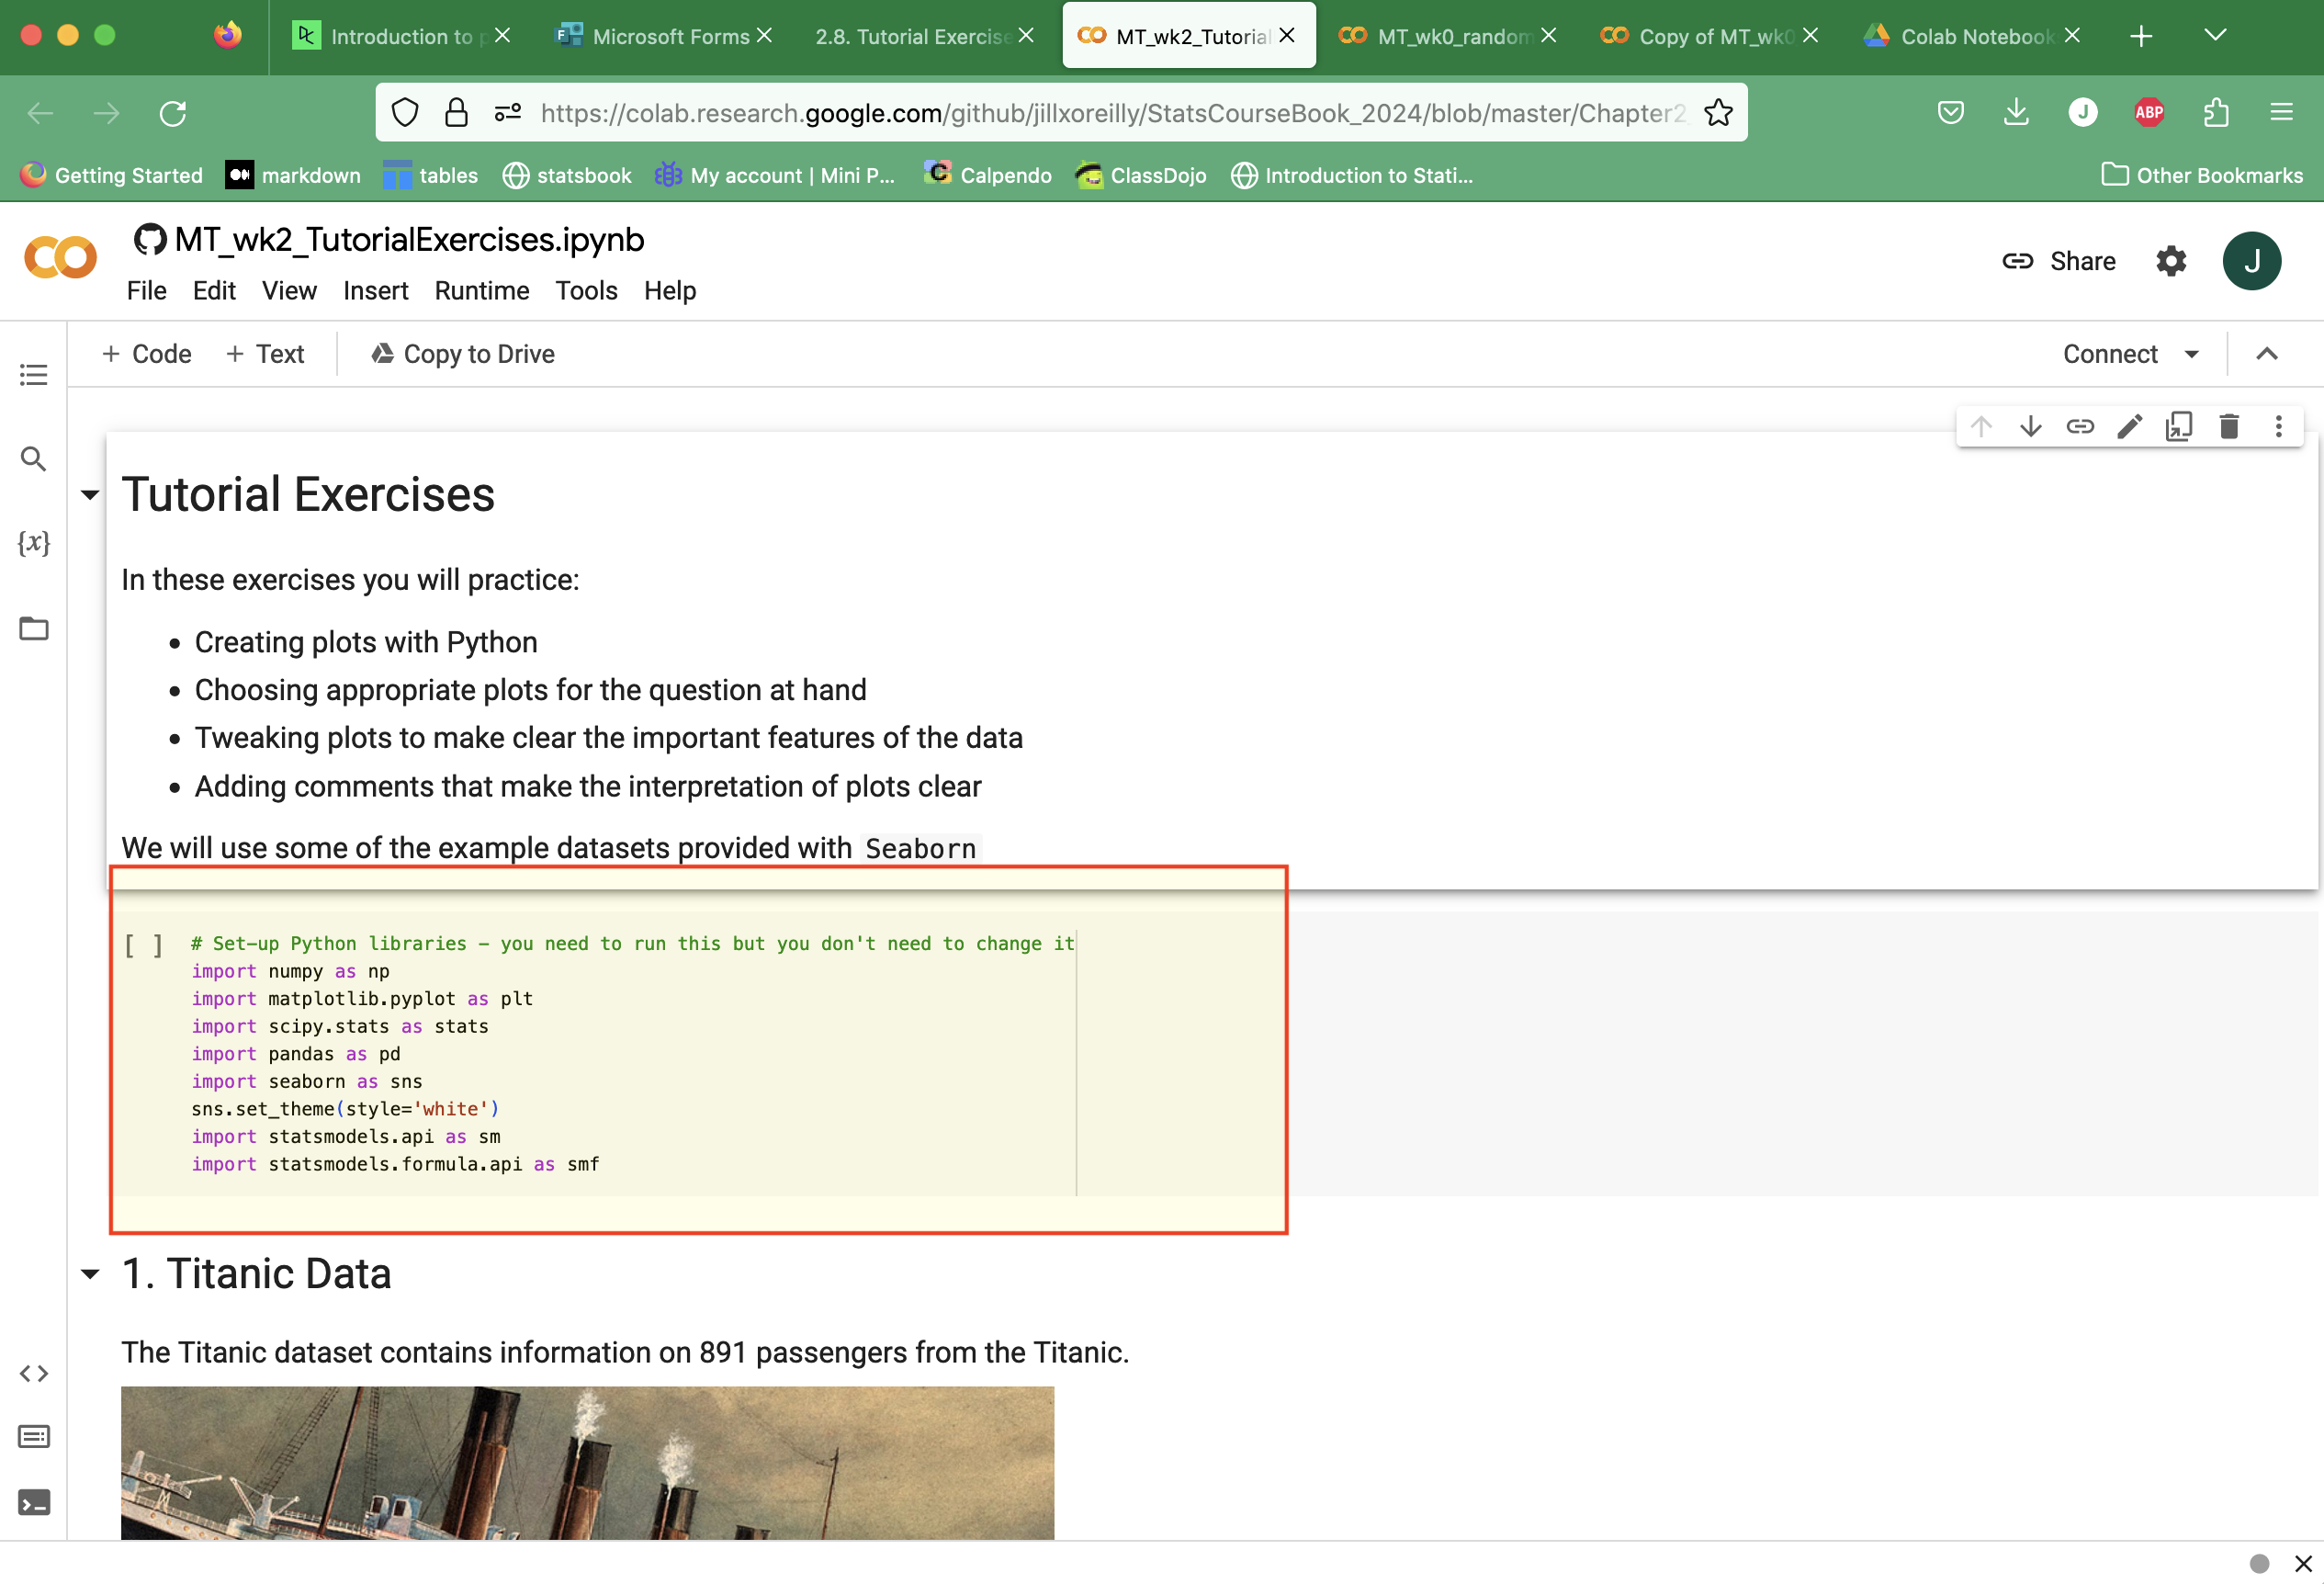
You will need to copy this block into any new notebooks you create
You could add other libraries to the input list if you found one you wanted to use (another plotting library for example)
You are now ready to write so code. The first thing we will probably want to do is load in an example data file.
1.4.7. Exercise 3: Load data#
From Canvas, download the example data file ‘ExampleData.csv’
On your google drive, create a folder called StatsDatafiles
Upload ‘ExampleData.csv’Google Drive and save it in the folder StatsDatafiles
Mount your Google drive in Colab
You need to give Colab access to files in your Google drive by adding this code in a code block:
from google.colab import drive
drive.mount('/content/drive')
In your Jupyter Notebook on Colab, use the following code to load the data as a
Pandasdataframe:
cats = pd.read_csv('/content/drive/MyDrive/StatsDataFiles/ExampleData.csv')
display(cats)
What is in the data file?#
The example data file is a text file (.csv) with words (column headers) and numbers in it.
This is a universal file type for storing data and can be opened by other programmes such as Excel
If you like, you can open ExampleData.csv in a text editor (such as TextEdit) to have a look at it
Once we read it into Pandas it is in the computer’s memory so to speak, in a formmat that Python recognizes and upon which we can perform statistical operations (like testing for a difference between the values in two columnms of the datafiles).
1.4.8. Note - loading data in example notebooks#
In the example notebooks on this course notes website, I tend to pull the data directly from my GitHub (a web-based platform where the course files are stored). This just means that you can run the examples without having to separately download data files and edit the code etc.
For files pulled from GitHub, the filename will be a URL (webb address) rather than a filename in a folder on your computer. You don’t need to know how to fill in these URLs, I’m just explaining why these look different to the Data Loading example below.